
Premium Ticketing Features To Create Events In The COVID Era
As we enter the second half of 2020, event regulations and gatherings seem to have caught on along with the phase-wise re-opening. Needless to say, many event organizers and venue…
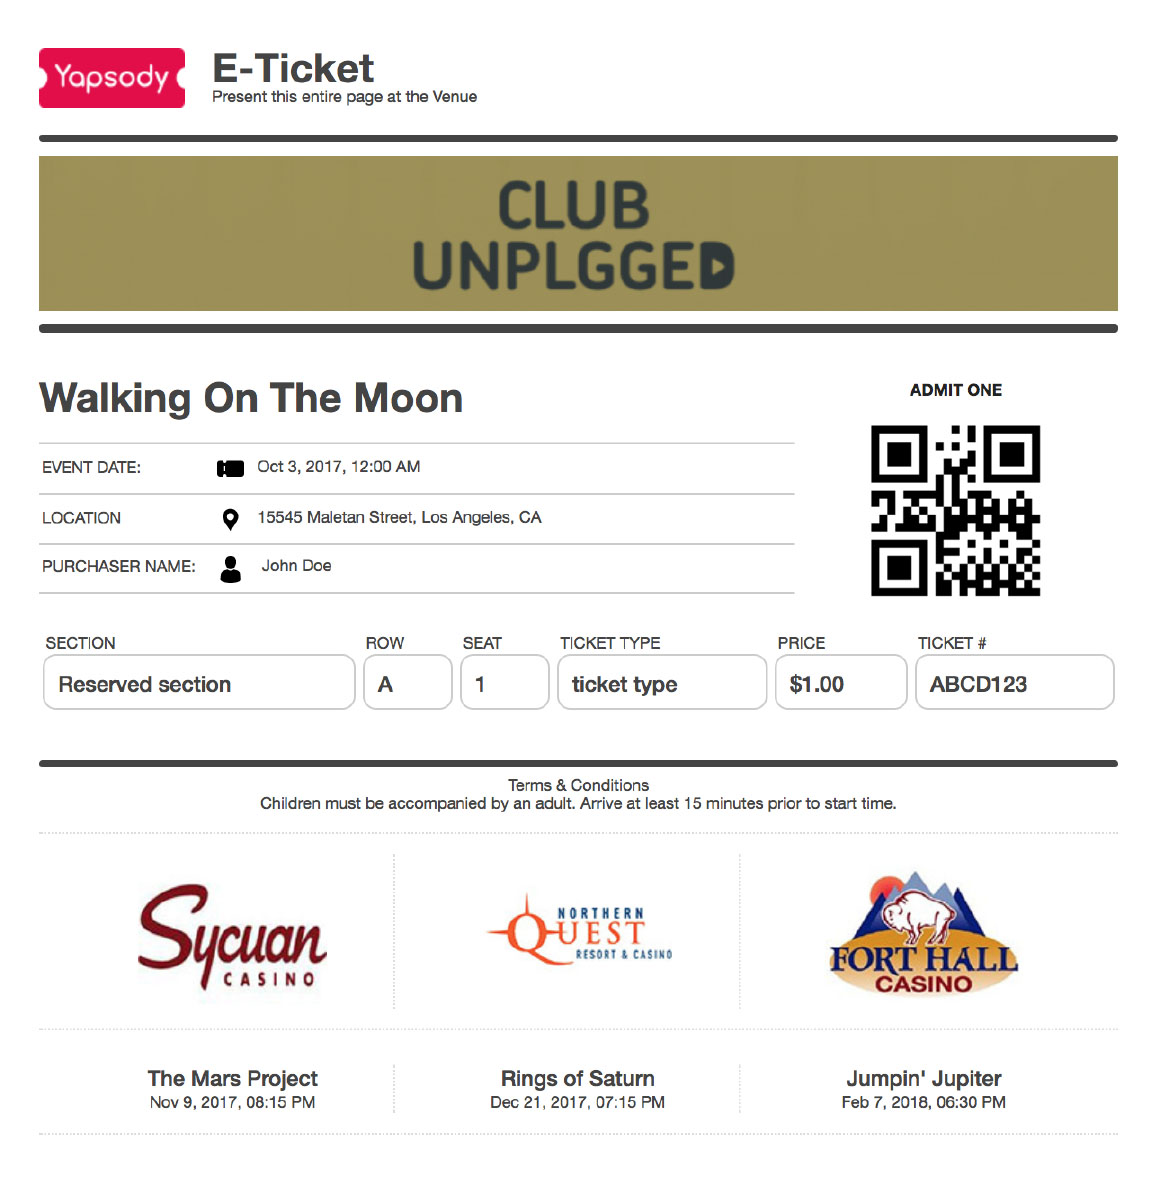
With Yapsody, you can easily customize various elements of your e-ticket to reflect your brand and event persona. To avoid getting restricted to a dull format, use event-related imagery and illustrations that will set the expectations straight for your guests. You can also add your company logo, sponsors, upcoming events, and terms & conditions for more clarity.
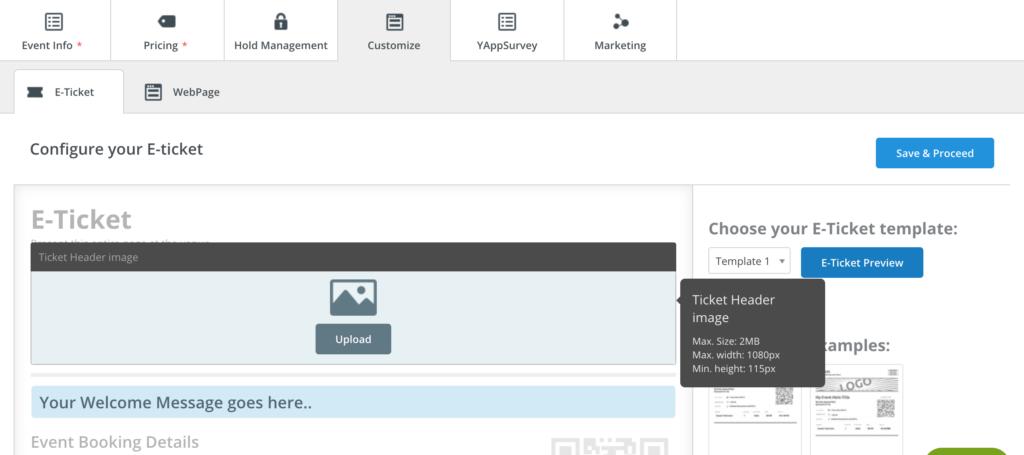
Login to your Yapsody account, head to the customize tab and select E-Ticket.

To quickly customize a ticket, choose from four pre-set ticket templates and start adding all the necessary elements accordingly.

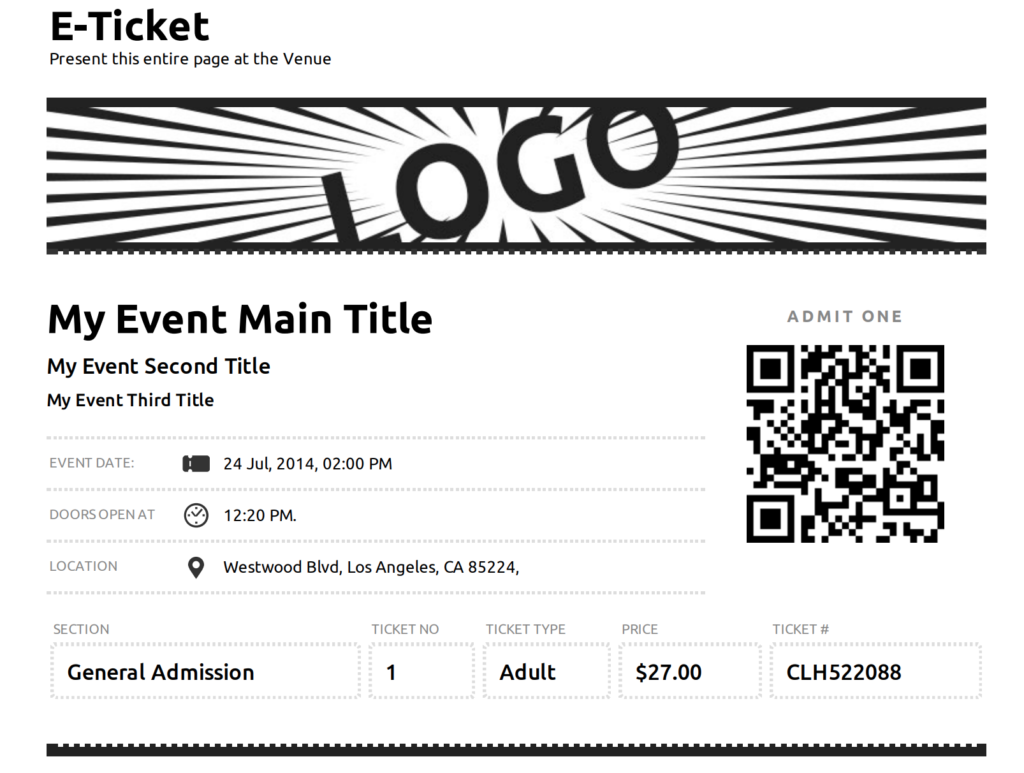
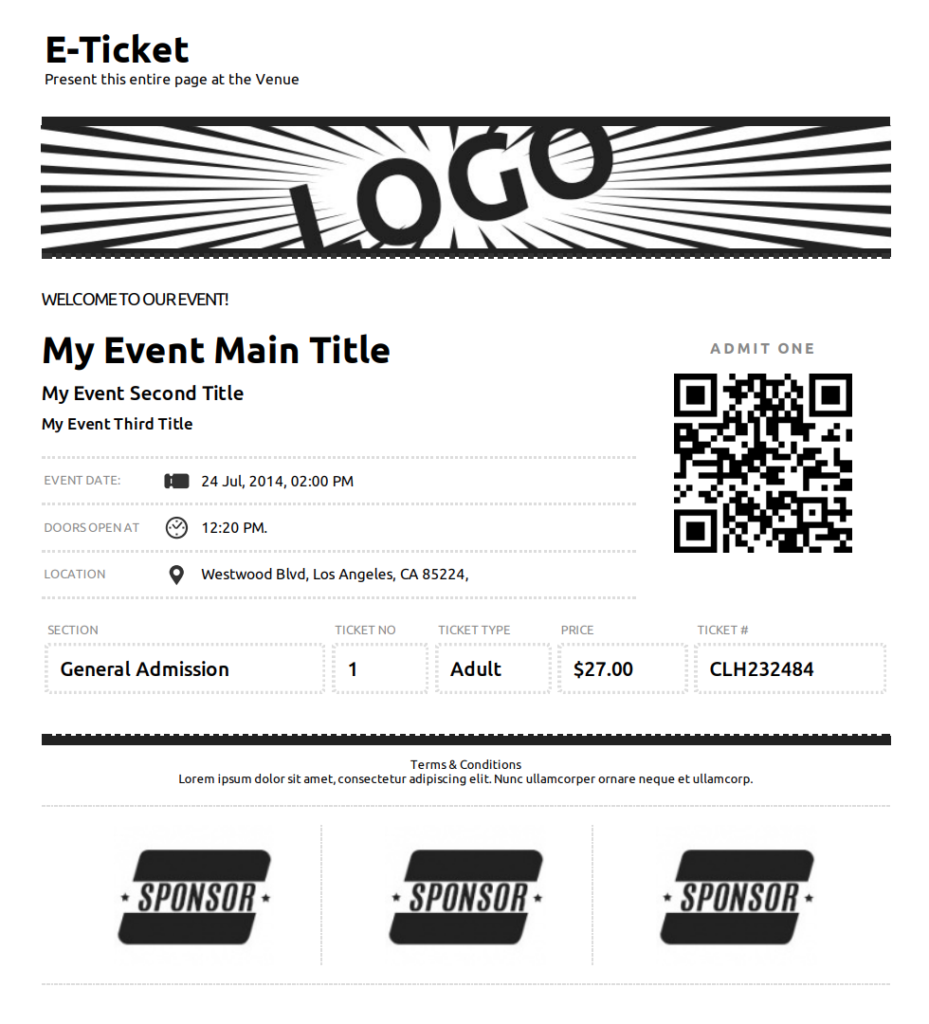
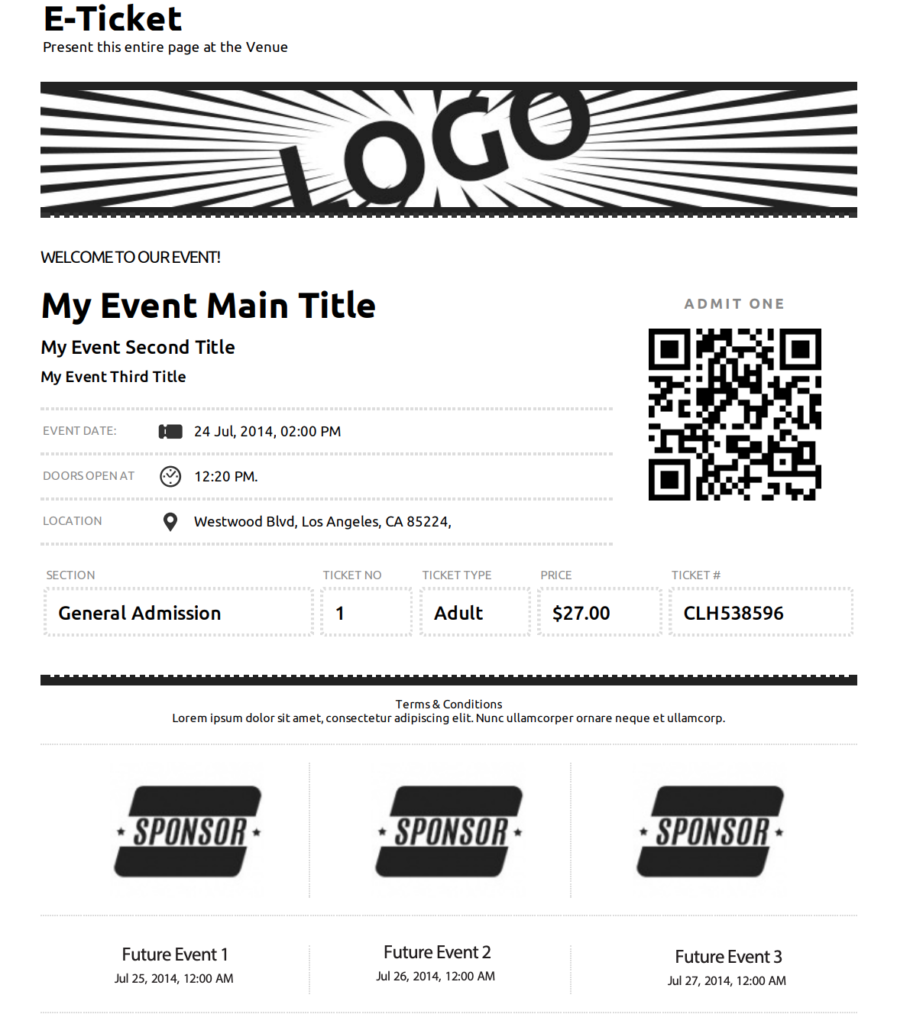
After selecting your preferred template, start by adding the ticket header image in the specified dimensions and also the welcome text.
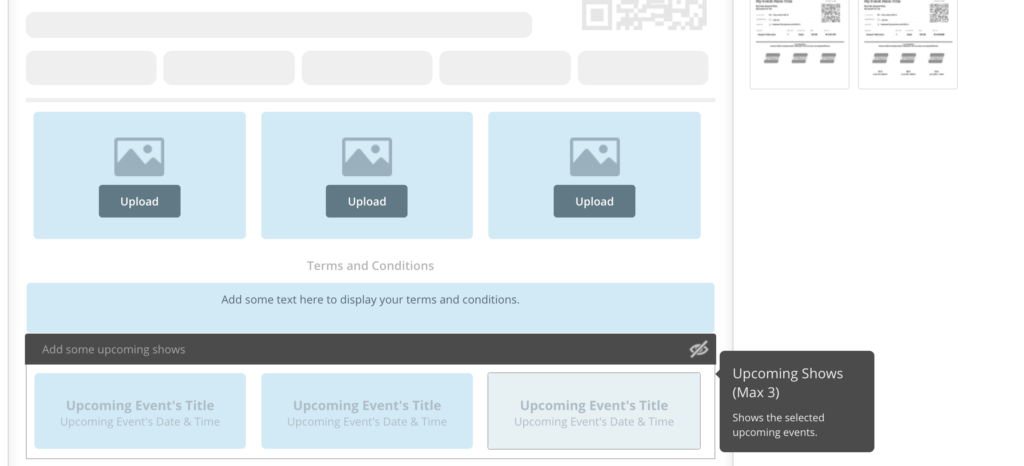
You have the option of listing three of your major sponsors by adding their logos and brand images. Adding Terms & Conditions is event specific and might differ from event to event.

Don’t leave any stone unturned in marketing your upcoming events and shows. List your future events on your ticket to notify your guests.
After customizing your ticket, preview it to get a glimpse of what your ticket buyer will receive. Click on the “E-Ticket Preview” button to preview it.